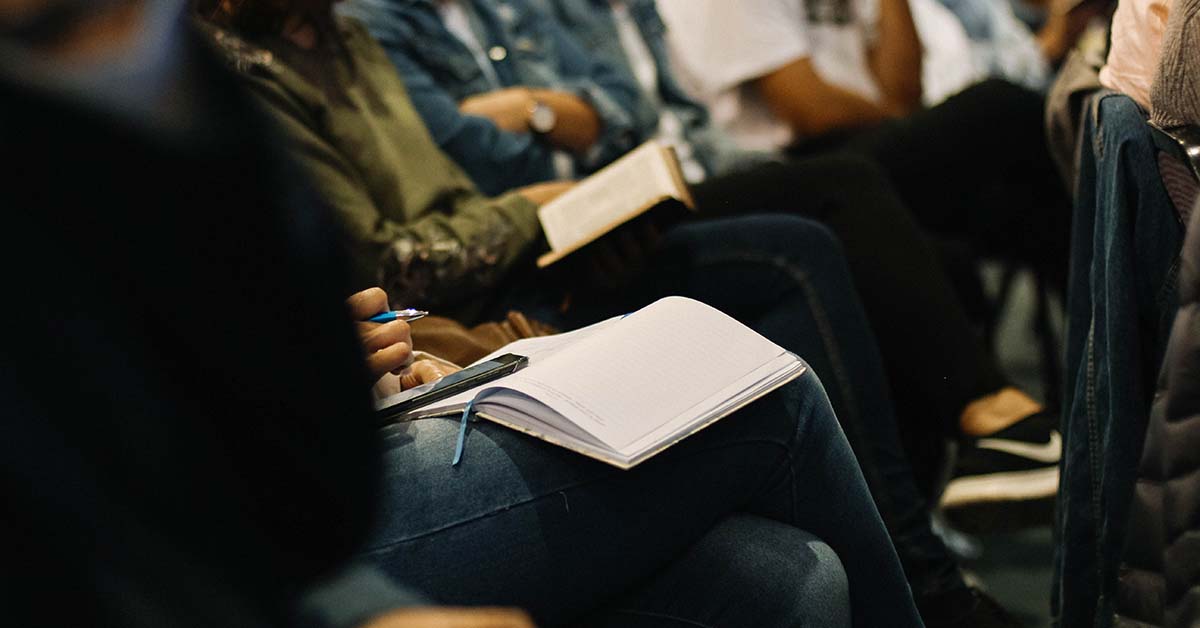
We couldn’t have asked for a better turnout or experience for our first Design Session Studio event. Attendance exceeded our expectations, and everyone warmed quickly to the collaborative design format.
But first, a bit about the learning environment...
Naturally, when you design a virtual, collaborative event about learning environment design you have certain expectations about the performance of the environment. And even though we had planned and rehearsed with the technology, there were plenty of unknowns with regards to how collaborative the session would actually be. We had a number of questions about the design of the virtual learning environment and the tools we were using.
- Would people feel comfortable using audio and video?
- Would people find the Adobe Connect chat feature too cumbersome?
- Would we be able to manage the Twitter back channel and provide a workable flow of communication?
- Could we produce a collaborative design feel for the experience even though one person was managing the design for the entire group?
- Would we have spontaneous, organic discussion between participants, outside the guided conversation?
While the answers to these questions weren’t necessarily what we expected, the end result was the the learning environment exceeded our initial expectations. People did not make use of the video or chat features, but they were active in chat. In fact, the usefulness and contextualization of the chat feature seemed to preclude the need for a Twitter back channel. In order to give this feature additional texture, Rob served as a “voice” for the chat and this seemed to function well.
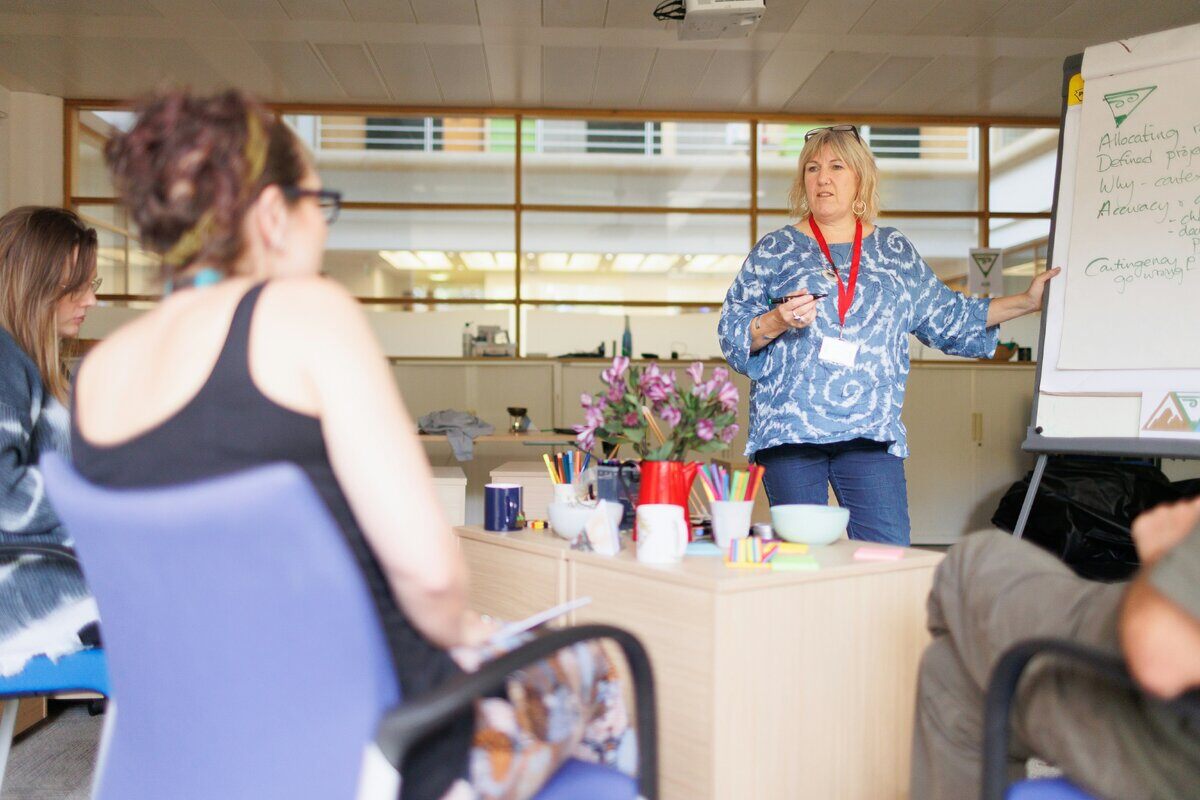
It seems that we worried needlessly about the emergence of organic conversation in the session. Put a group of interested, intelligent people in a room together (physical or virtual), and they don’t have any trouble throwing out questions and engaging one another. And, with regards to producing a collaborative design experience, the session seemed to produce just that.
Here is a link to the original learning environment model for the design studio session.
Of course, there are a number of things we need to adjust for our next session, such as providing more information and materials prior to the event. Still, we’re ready to call this first collaborative design studio a big success. We hope you find it equally rewarding.
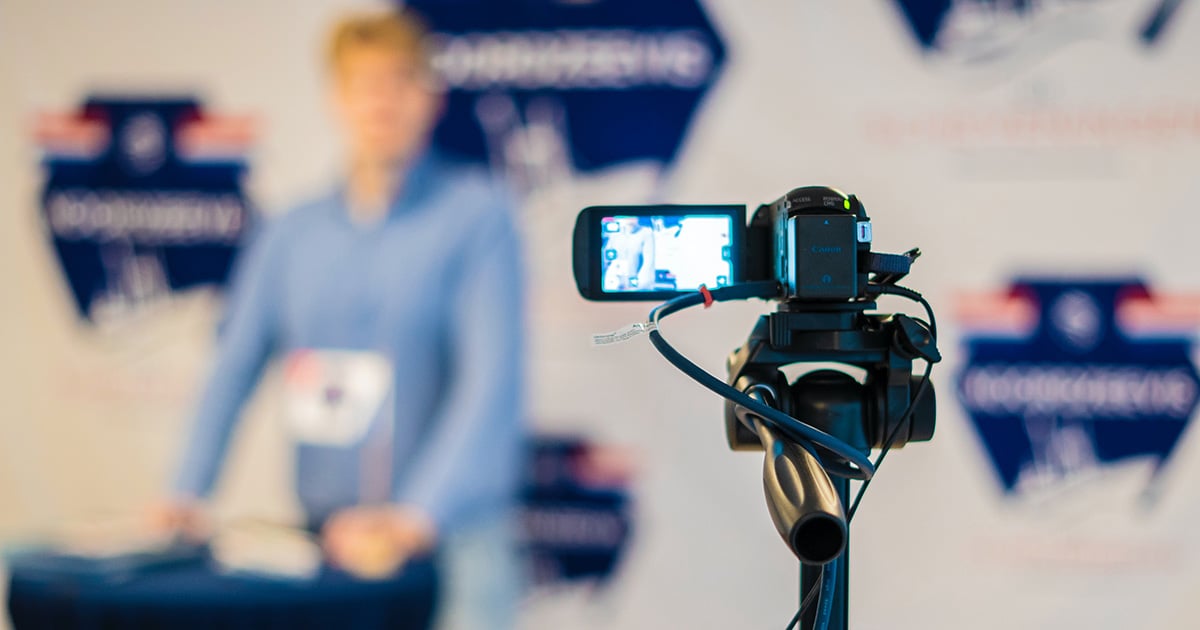
Watch the Design Studio Session Recording
(https://central.adobeconnect.com/p44wtot467a/)

Studio Session Notes
- Pre-Design Studio Session information:
- Twitter hashtag: #ILEDStudio
- Twitter stream for hashtag: https://twitter.com/search?f=tweets&vertical=default&q=%23ILEDStudio%20&src=typd
- Useful tools for Learning Environment Modeling (LEM) and the Learning ENvironment Modeling Language (LEML): http://www.uco.edu/cece/lem/
- Design Studio Session “rules”: The goal of these sessions is to provide real learning environment design challenges that can be solved collaboratively using Learning Environment Modeling (LEM) and the Learning Environment Modeling Language (LEML). We encourage everyone to think “out of the box” and beyond their traditional comfort zones. Most important, we want to be able to produce a learning environment design that can be accessed and used openly by by others.
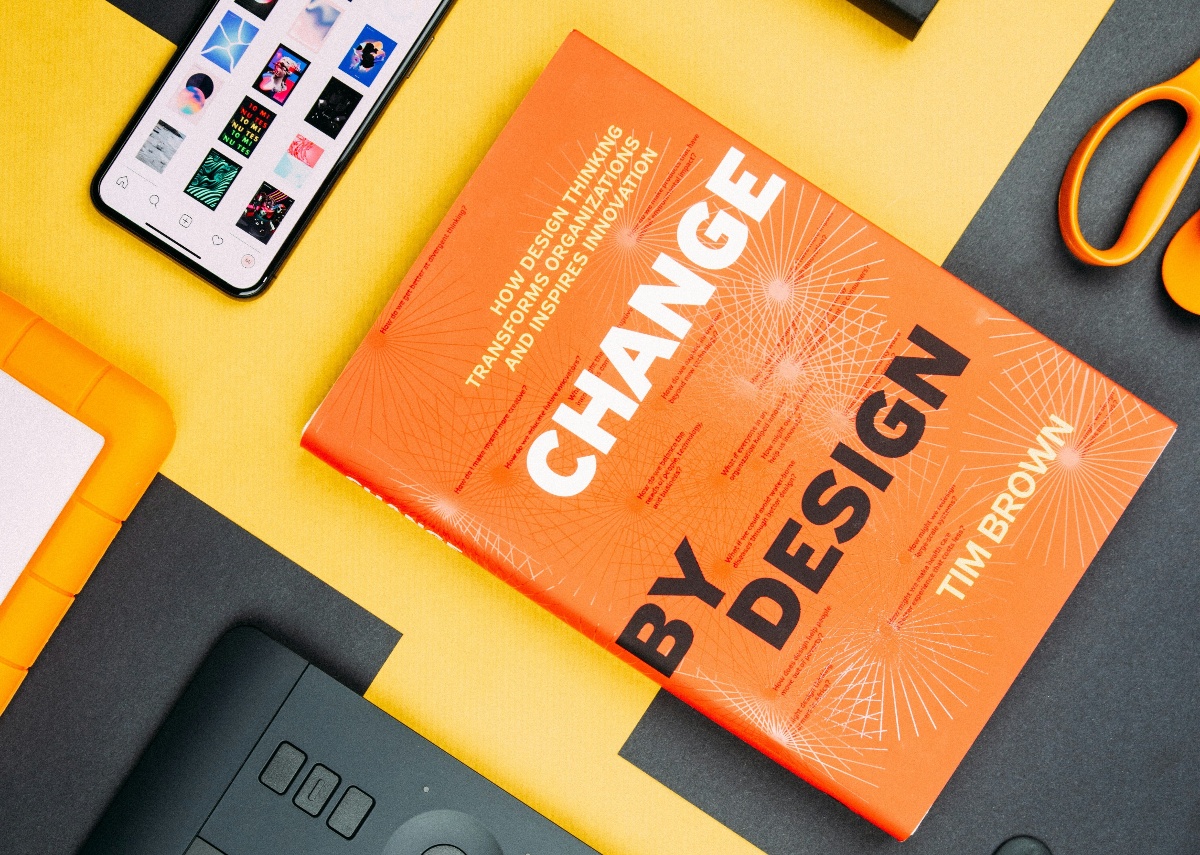
- Design Studio Session constraints: For this particular studio, we want to design a Learning Environment Model for incorporating open content into project-based learning. We will constrain our model by insisting on: 1) the use of only open content; 2) incorporating at least one major project; 3) including rich feedback in the model; 4) limiting the final model to 10 building blocks or less.
- Deciding on a project: We began the session by deciding on a course/lesson project, around which which we could design our model. Laura Gibbs chatted that her online students make memes and share them. She suggested building a meme gallery with student commentary.The group liked the idea of a curation project, and saw an added value in promoting digital literacies through the project.
And as we worked through the idea, Bucky did a great job of modeling our discussion. Here’s an example.
- Elaborating the project and requirements. The project really began to take shape as people tossed in ideas for image libraries, databases, and tools.
- https://thenounproject.com/
- http://wigflip.com/automotivator/
- Library of Congress
- https://commons.wikimedia.org/wiki/Main_Page
- http://www.europeana.eu/portal/
- https://openclipart.org/
- https://unsplash.com/
- http://search.creativecommons.org/
- http://creativecommons.org/
- http://guides.ou.edu/oer
- http://onlinecourselady.pbworks.com/w/page/68074413/findimages
- Guidelines for citing image resources (http://goproverbs.blogspot.com/search/label/Proverbs%20from%20India)
- https://creativecommons.org/licenses/
We also discussed concepts, such as OER, that would be important to explain as part of the project (and at which stage of the lesson). Finally, we talked about the importance of identifying the key capabilities or objectives that we were addressing in each part of the project.
Our discussions quickly materialized into a more formal model, as shown in the screenshots below.
- Discussion of our new model: Once we have created our Learning Environment Model, we spent time discussing possible adjustments and additional considerations. We finished by providing links to the design we created in the session, as well as our ILED Pinterest board of design templates.
- Link to session design model: https://www.lucidchart.com/documents/view/700e8085-f3c3-4772-8493-e77b1c98dbc5
- Link to ILED Pinterest board: https://www.pinterest.com/instituteforlea/learning-environment-design-patterns/